
Baetis Nymph
There are a great many fly patterns to imitate Baetis nymphs, nymphs of the upwing flies in general really, some are very intricate and beautiful pieces of imitative work and others like the Pheasant Tail, Grey Goose or Gold Ribbed Hares Ear nymphs which though very simple are also great fish catchers.
This pattern fits very much into the simple bracket and is, when all’s said and done, a slightly modified Pheasant tail it’s just a tiny bit more imitative with the addition of legs that are in scale with the natural and a darker wing case to represent the more mature nymphs a bit better, as it’s a lightly weighted pattern it’ll fish a bit higher in the water column and the nymphs found there are more likely to be mature ones.
Baetis Nymph.
Hook: #14-#18 (I have used Partridge BIN)
Weight: Sticky backed lead foil, cut to approx 1mm thick
Thread: Dark Olive
Tail: Olive dyed Mallard flank
Body: Olive Dyed Pheasant tail, 2 or three fibres
Rib: Extra fine olive wire
Wingcases: Magpie tail
Thorax: Dark Olive dubbing
Legs: Supreme hair, colour to suit. (I’ve used black supreme hair but on the smaller hooks you should change to Organza to keep the leg material in scale with the rest of the fly.
Step 1: cut a length of sticky back lead sheet around 1mm wide and wrap a doubled layer at the thorax area ensuring plenty space is left behind the hook eye.

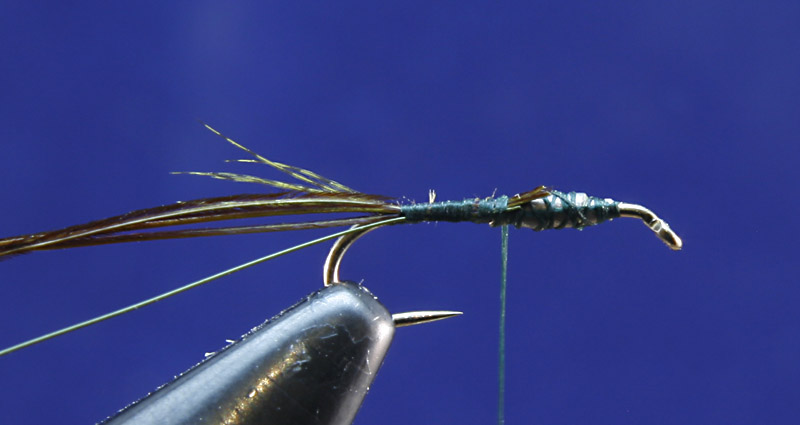
Step 2: Attach the thread and wind back to the bend of the hook catching in a small bunch of Olive dyed Mallard flank fibres as you go. The tail should be no longer than the hook shank but I like them a little shorter, I also put 1 turn of thread below the tail to spread the fibres out a little which is not completely necessary but I like the look of the finished nymph better this way. I can’t say it makes the fly fish better but it can’t hurt.
Step 3: Winding the thread back up tie in a length of Olive wire (extra fine, the Semerfli wire is great for this as is the X-Sm UTC) and three fibres from an Olive dyed Pheasant tail.
Step 4: Half way along the shank tie in 2 thin slip of Magpie tail, these should be evenly just off the top of the shank and have a space between them. Move the thread forward a few turns and tie a slightly larger bunch centrally on the top of the shank. All bunches should be tied in so that the shiny side of the feather is uppermost when the bunches are pulled over the thorax.
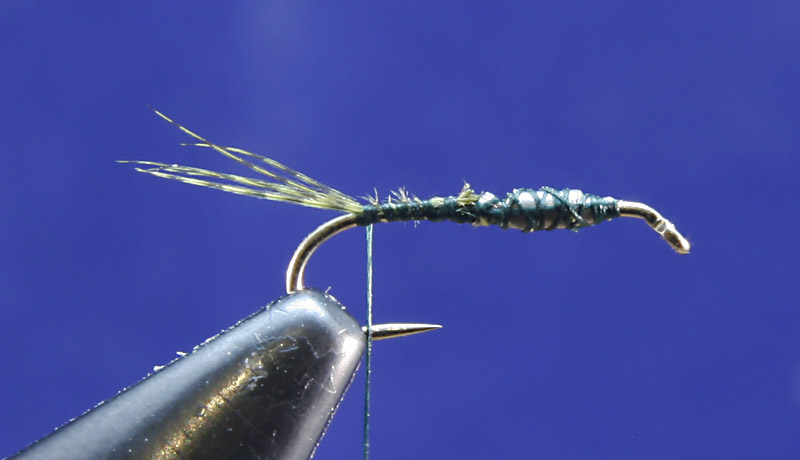
Step 5: Wind the Pheasant tail forward making sure you get at least one turn between the rear and forward bunches of Magpie tail and tie down at the thorax. Counter wind the wire up to form the rib and tie off at the thorax. You can add a little varnish or superglue to the thread before winding the Pheasant tail but I find the rib to be enough, I do add a little superglue to the base thread on flies where I don’t use a rib. The gauge of the ribbing wire is also very important, to me out of scale materials ruin otherwise good flies. To my eye flies tied on #18-14 hooks look much better with a very fine wire rib and if I can’t get the colour of wire I want in that size I leave it out altogether. We are lucky now in the sense that we have a great range of colours on offer to us in this size.
Step 6: Take a very small pinch of olive dubbing (much less than you’d think you need) and dub the thorax up to a point around 2mm from the hook eye.
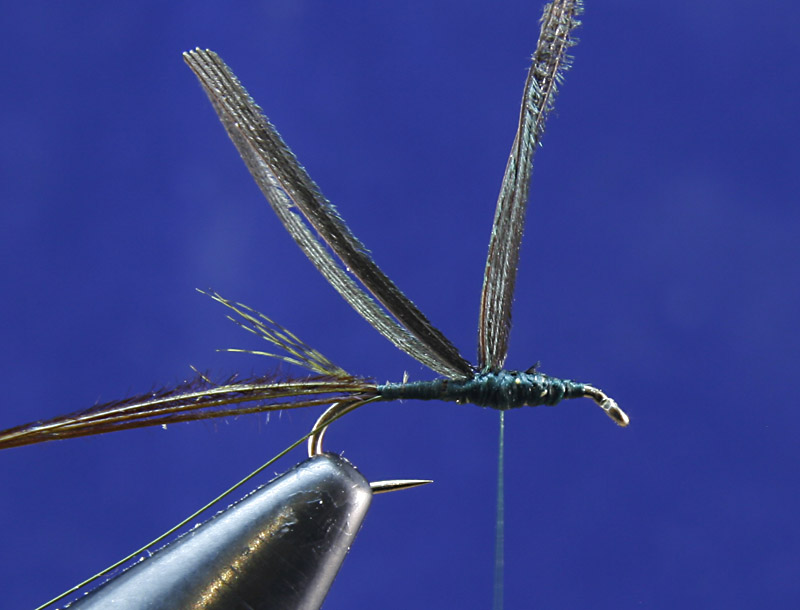
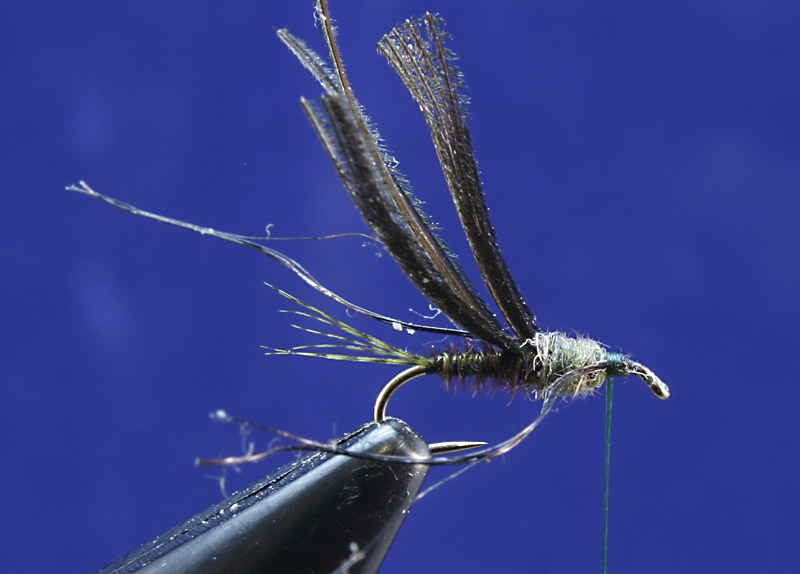
Step 7: Cut a length of Supreme hair and tie it on so the fibres project on either side of the hook shank. Three or 4 fibres is plenty and again watch the scale of your materials, Supreme hair is great on #14 hooks and even some of the longer shanked #16 hooks like the Ideal Nymph hook I’ve used but below this size I would swap to the same amount of fibres of Organza.
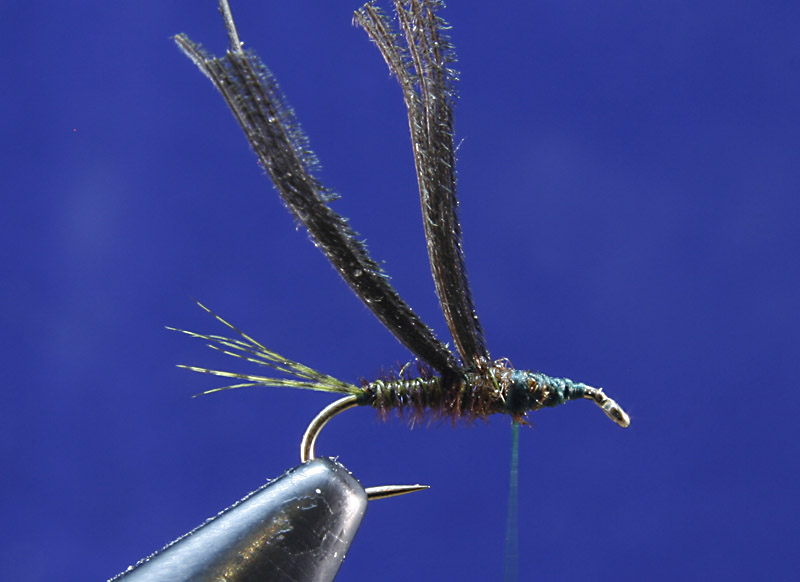
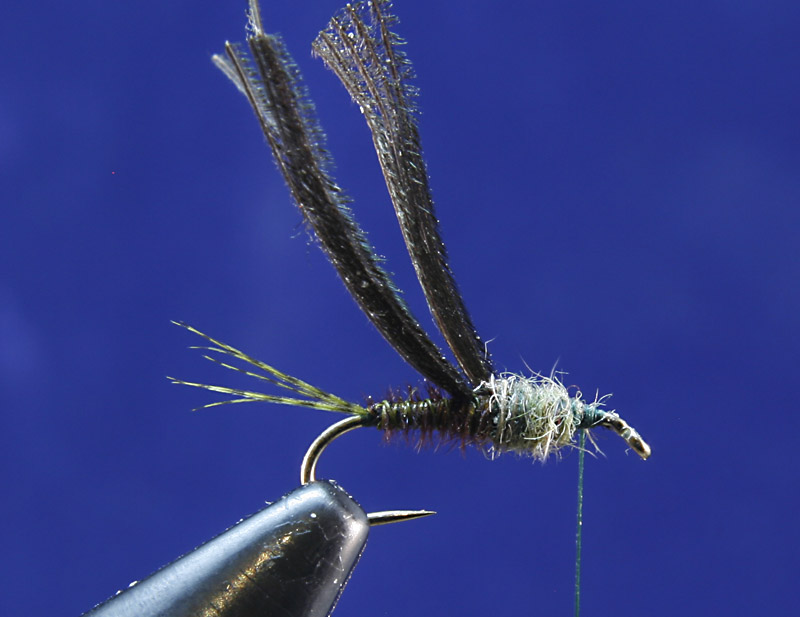
Step 8: Add a tiny amount more dubbing in front of the legs then pull forward the Magpie tail wing cases and tie down at the head. Whip finish to complete the tying stage.
Step 9: To finish the fly cut the legs to size and make sure the fibres are separated and add a drop of varnish to the head.
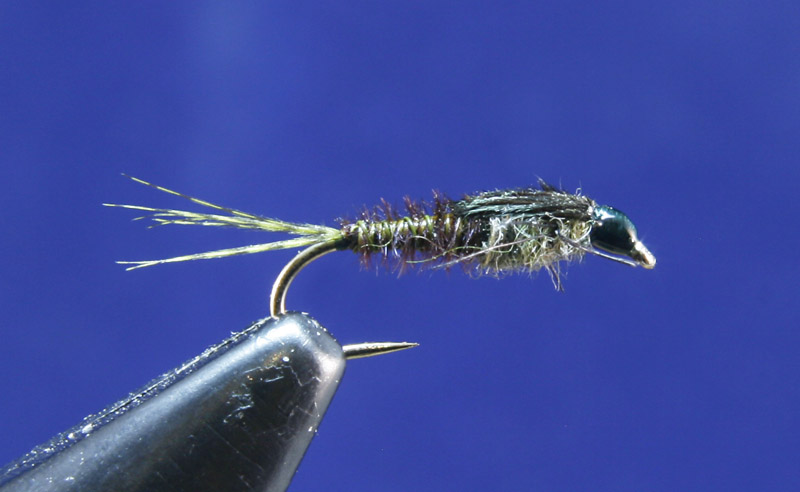
The completed fly from above

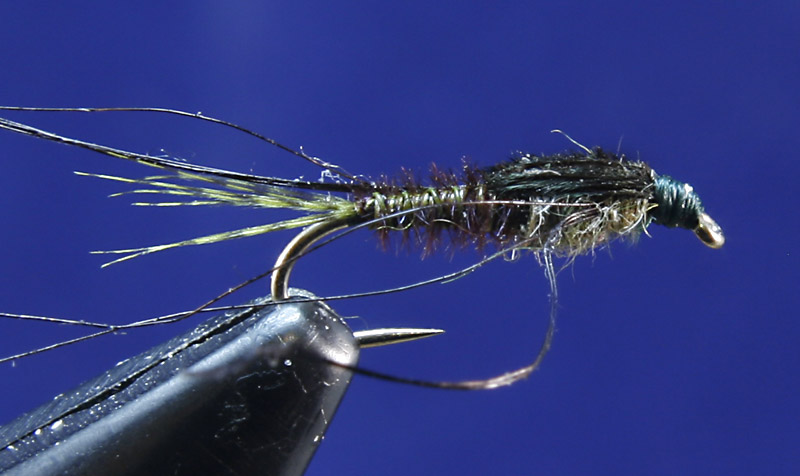
If you wish you can tie the legs in individually to space them out better over the length of the thorax and this will give you a better looking fly in your box but as far as fishability goes it makes no difference to the fish. Well, none that I’ve found.
Fished on a dead drift 2ft below a dry fly in the early part of the season when Large Dark Olive hatches are starting this fly is a good match for the mature nymphs rising up through the water column to hatch.
Looks good, nice imitation looking forward to tying a few this week, you forgot your parts list 😀
Good spot Marc, added it now. Thanks
Nice Jim … Andy
Cheers Andy
love it ! Nom-Nom ! me copy, me catch all the fish ! MuHahahaHaaaaaaaaaaaaaa !
Happy with that, always a good sign when you get an evil laugh.
looks like a great fly to me, Jim!
Thanks Hans